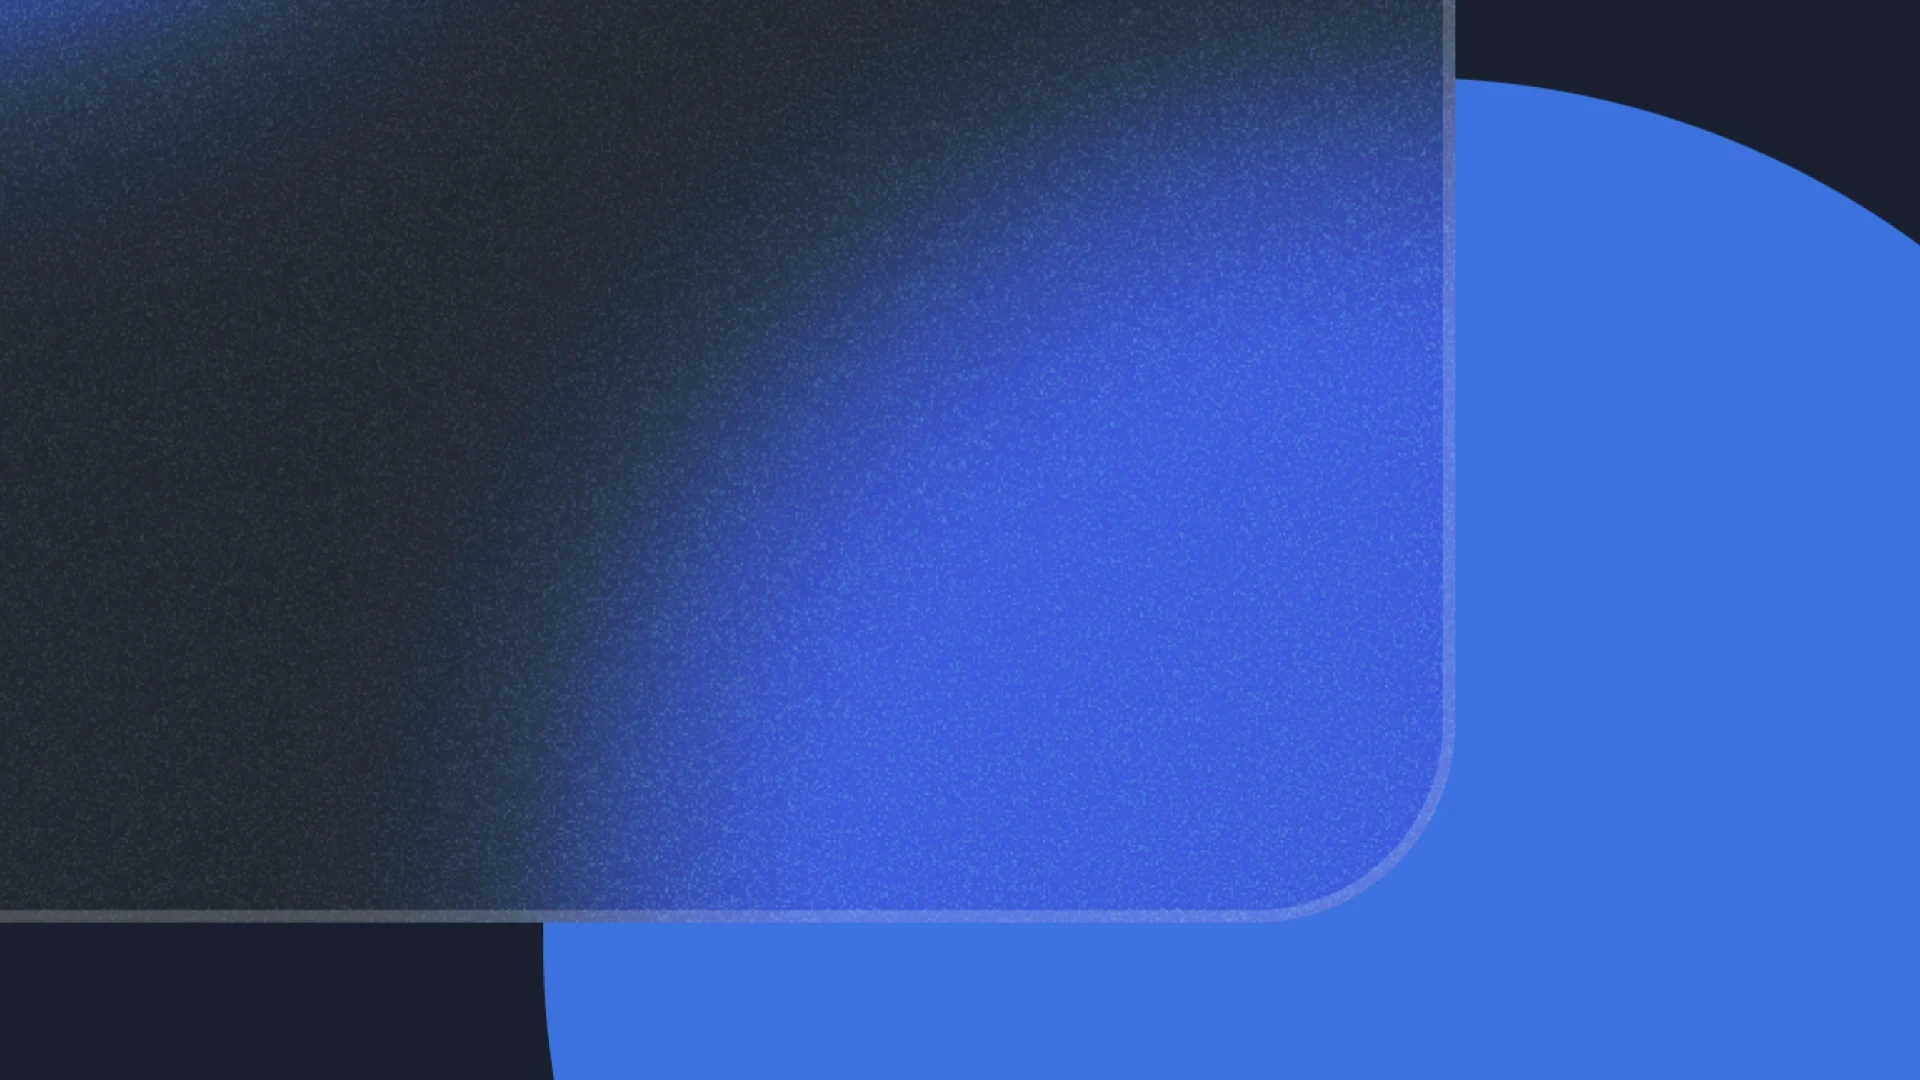
Here's how to create a simple frosted glass effect in Figma using backdrop blur filters. This effect creates a blurring of background elements underlaying a translucent layer.
Here's how to design a frosted glass effect in Figma:
We are going to replicate this popular background blurring effect in Figma:
Let's dive straight in, so open up a new Figma design file, and let's start by setting up our layers.
Step 1: Create a new frame to contain our design
Before we can create our frosted glass effect, we must first add the layers and frames we need.
In Figma, "frames" contain and group your design elements into something that can be exported.
Frames also support background fills - be it a solid colour, gradient or image.
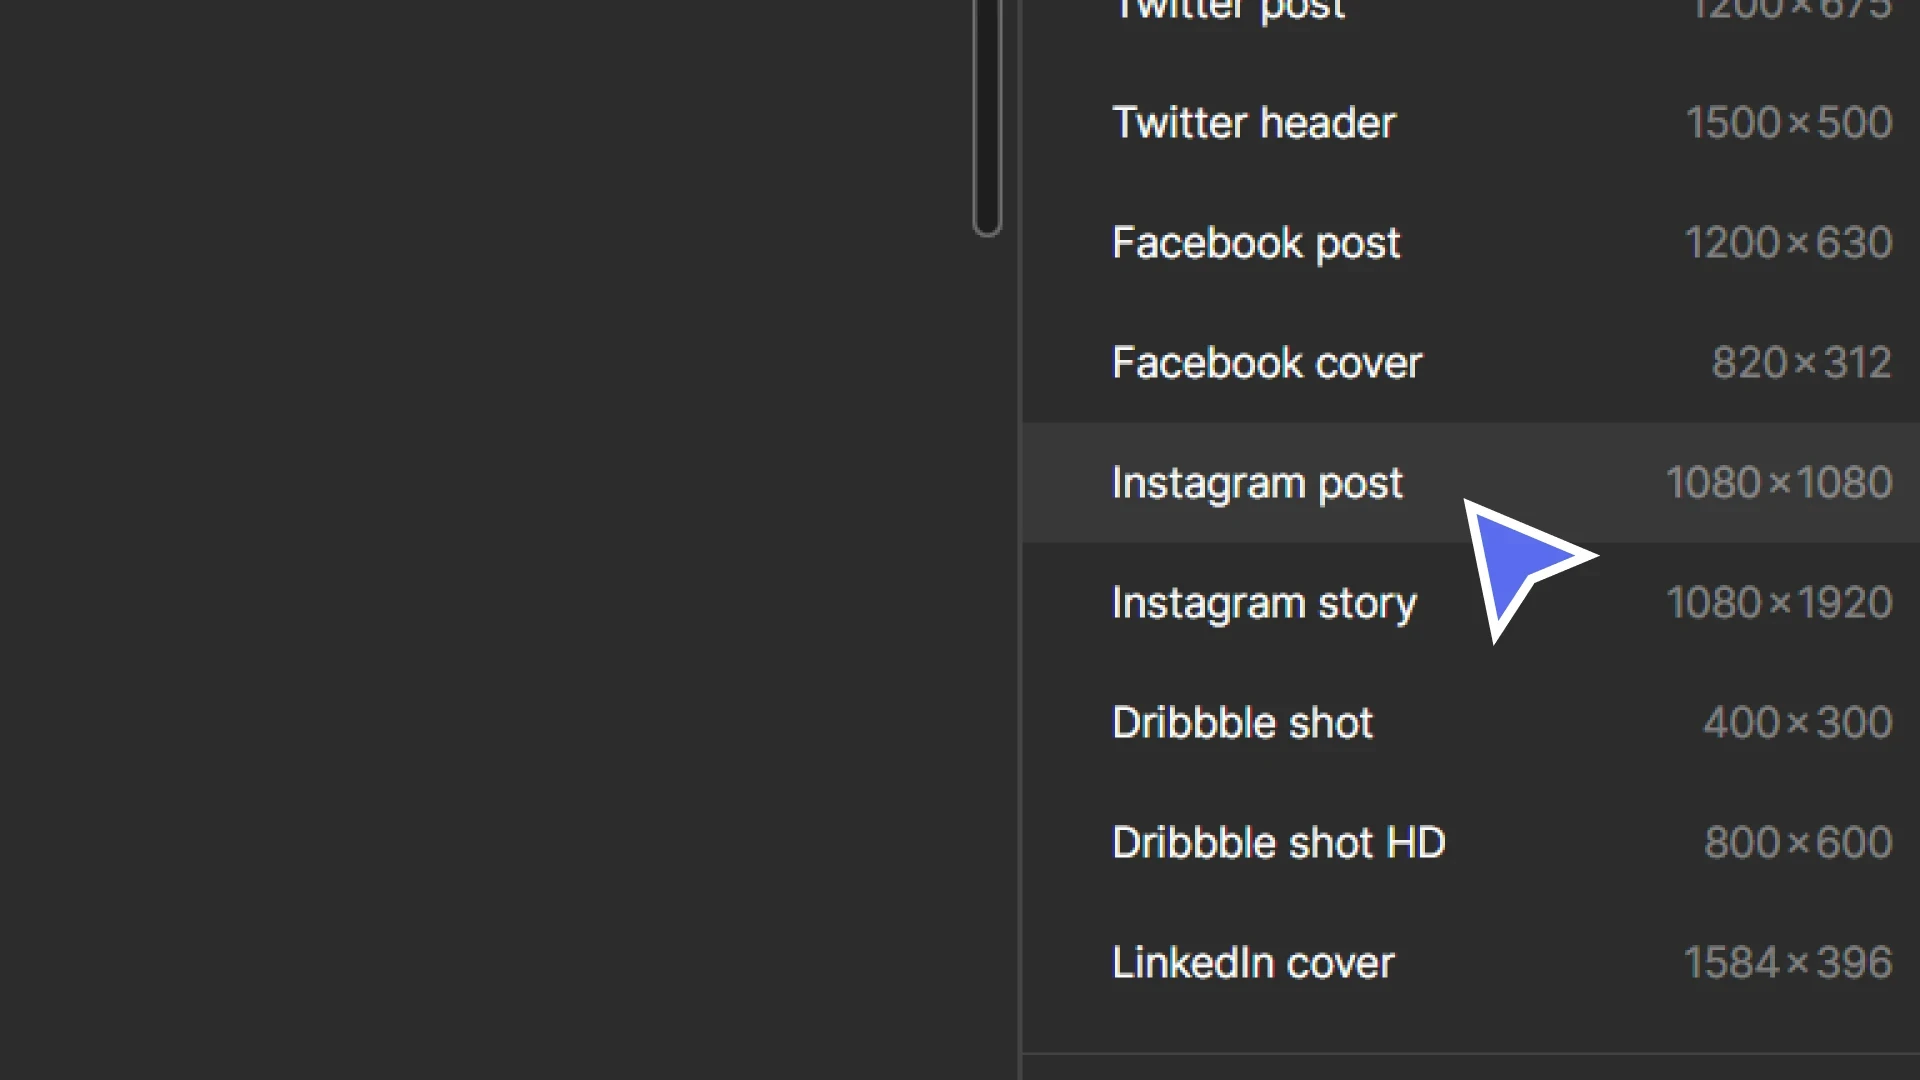
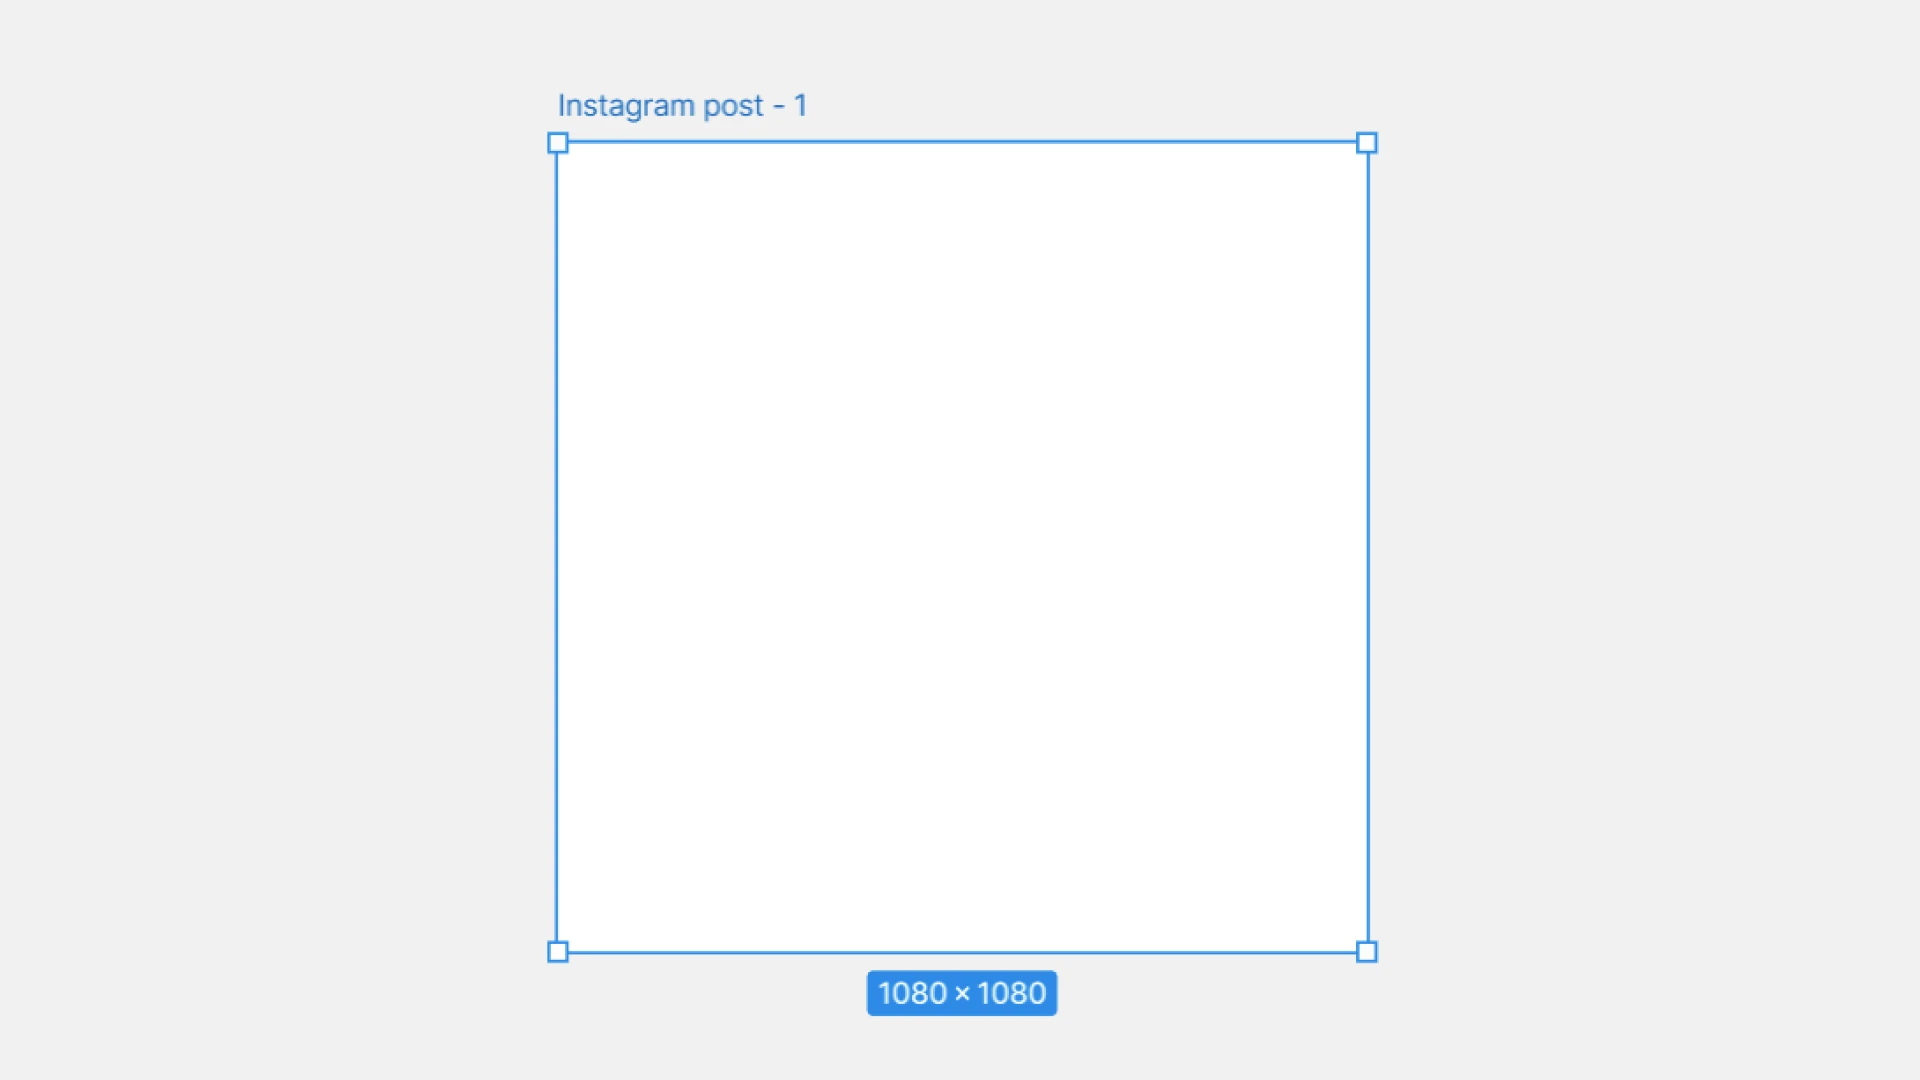
For our background blur project, let's use the default frame for an Instagram post (1080x1080px).
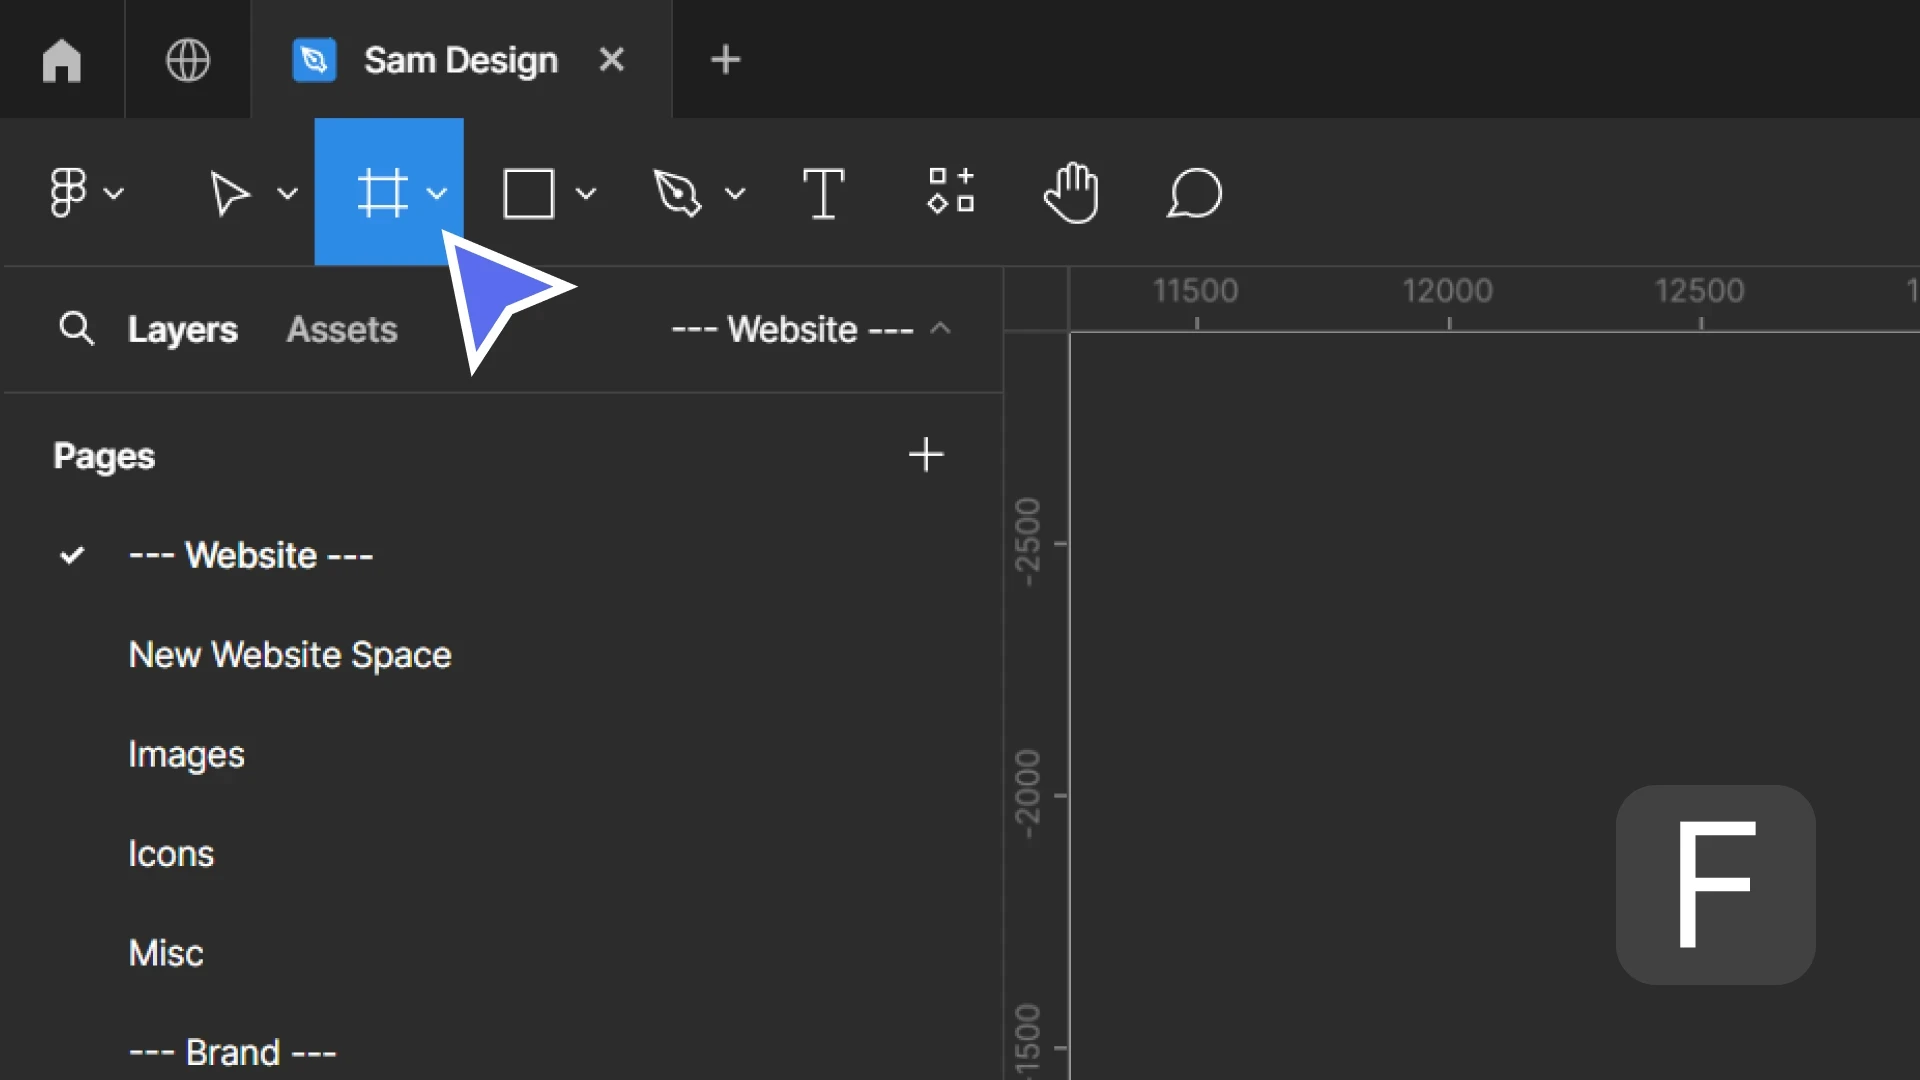
Press the "F" key or select the frame (#) icon in the toolbar.
Select "Instagram post" on the design panel and create your frame:
Step 2: Create the background
Next, let's create the background to underlay our frosted glass.
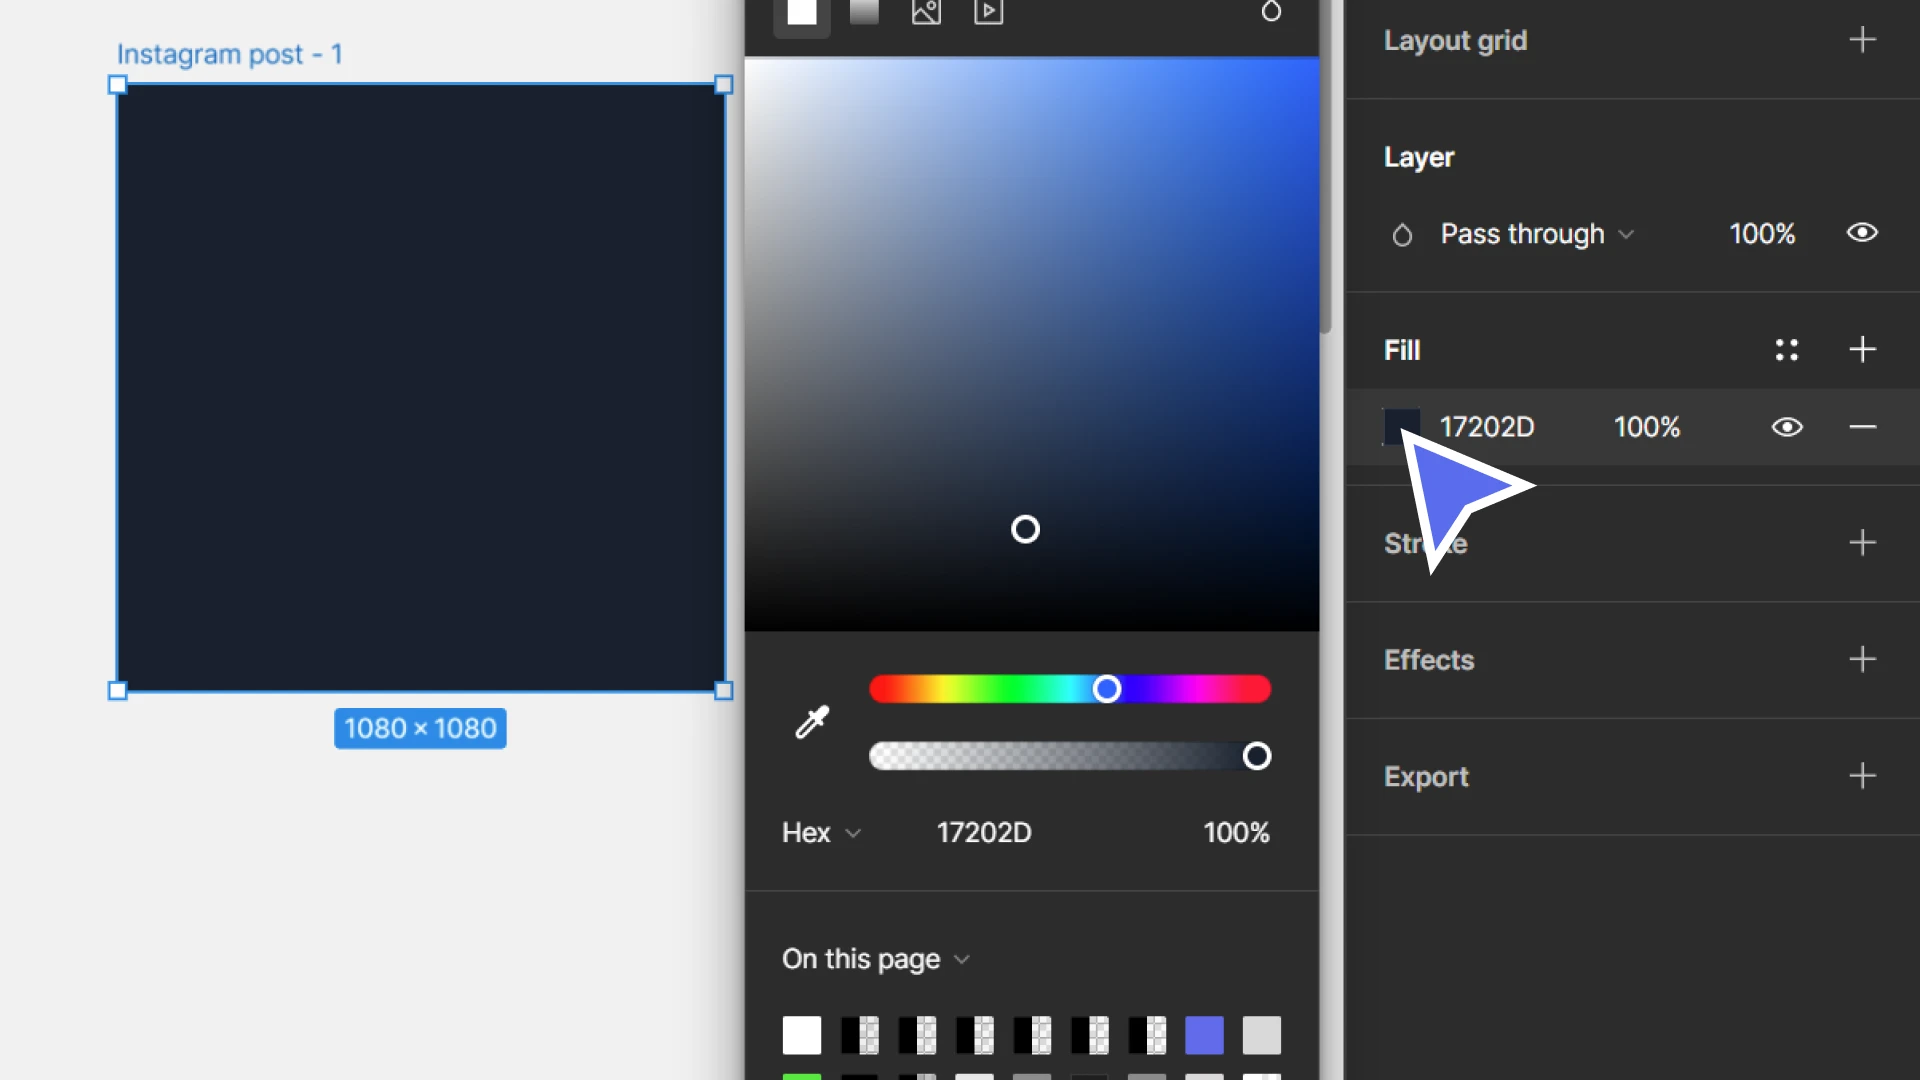
With the frame selected, give it a dark background colour.
To do this, in the design panel (on the right of screen) you'll find your frame's "fill" or background colour.
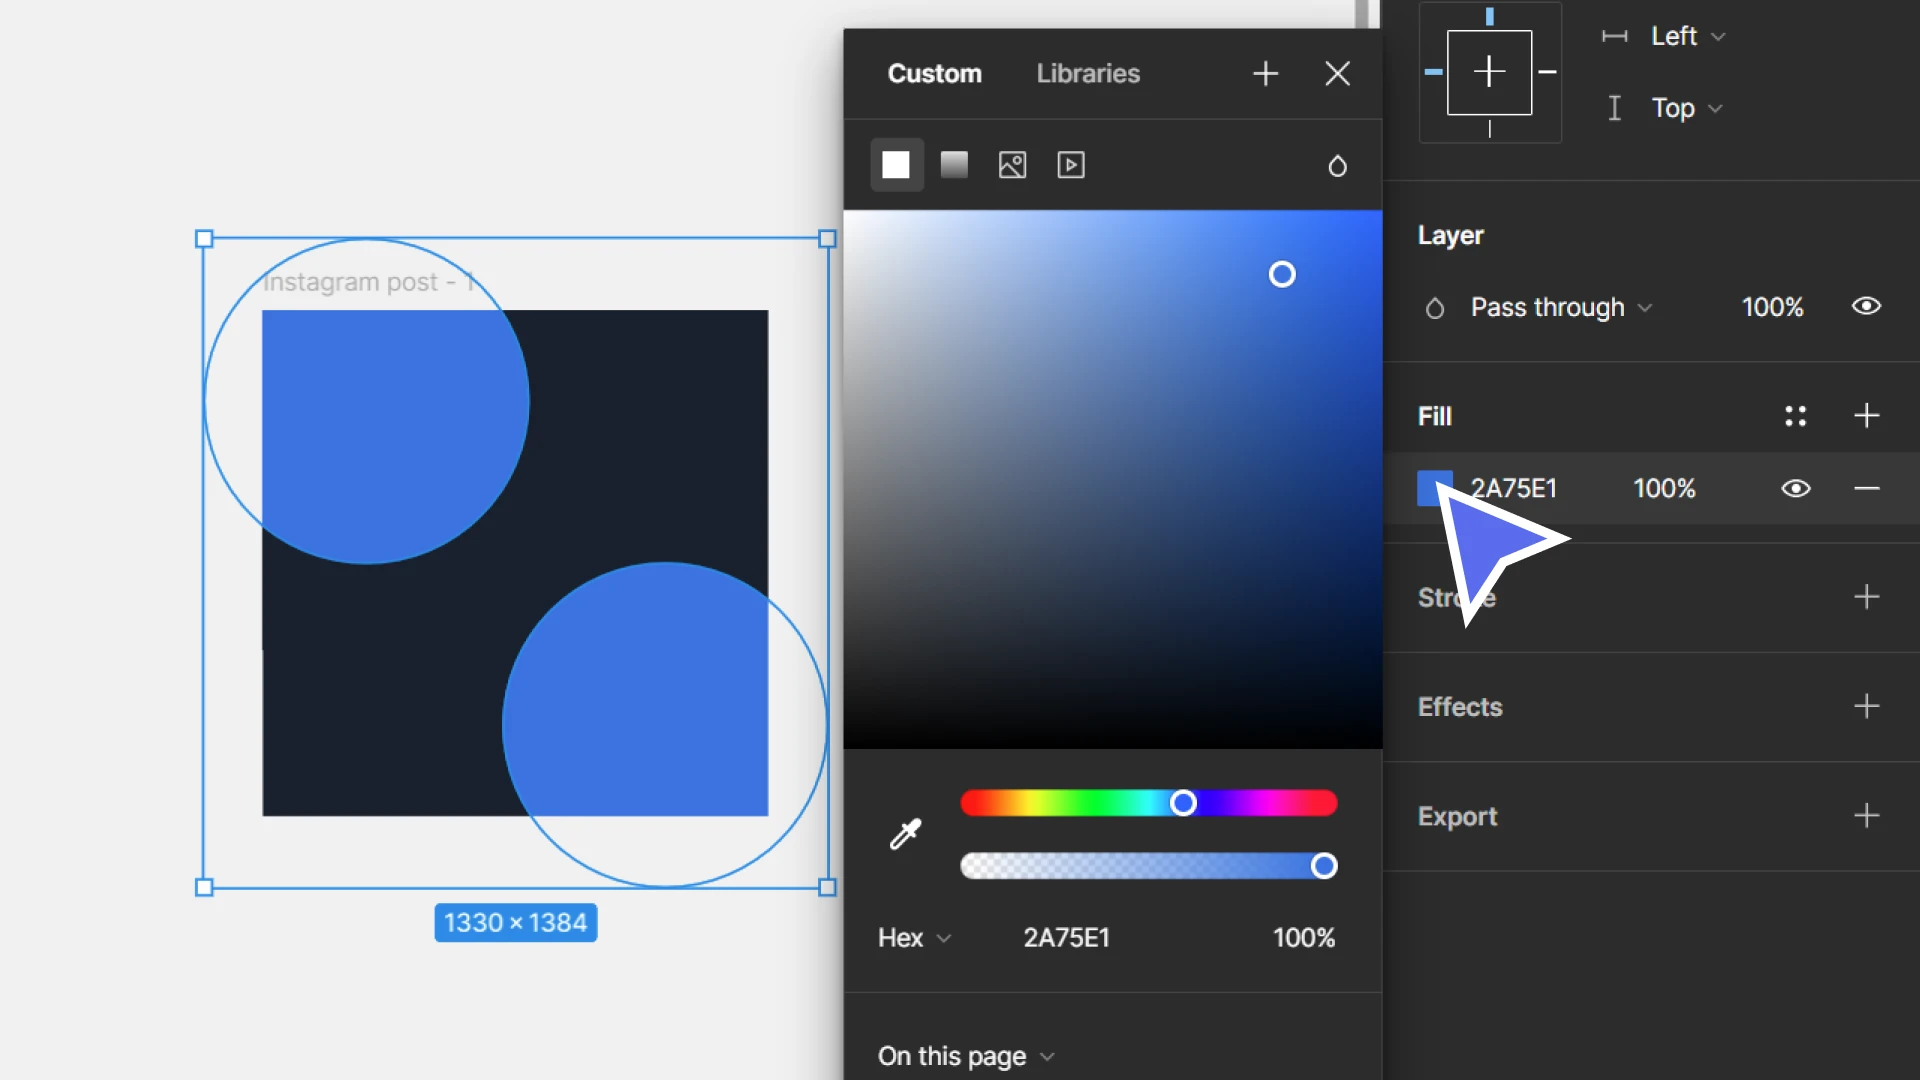
Select the coloured square to the left of the colour code and use the colour picker to select a deep blue (or another dark colour you'd prefer).
Next, we need something visual in the background for our frosted glass to blur.
Let's add two brighter blue circles.
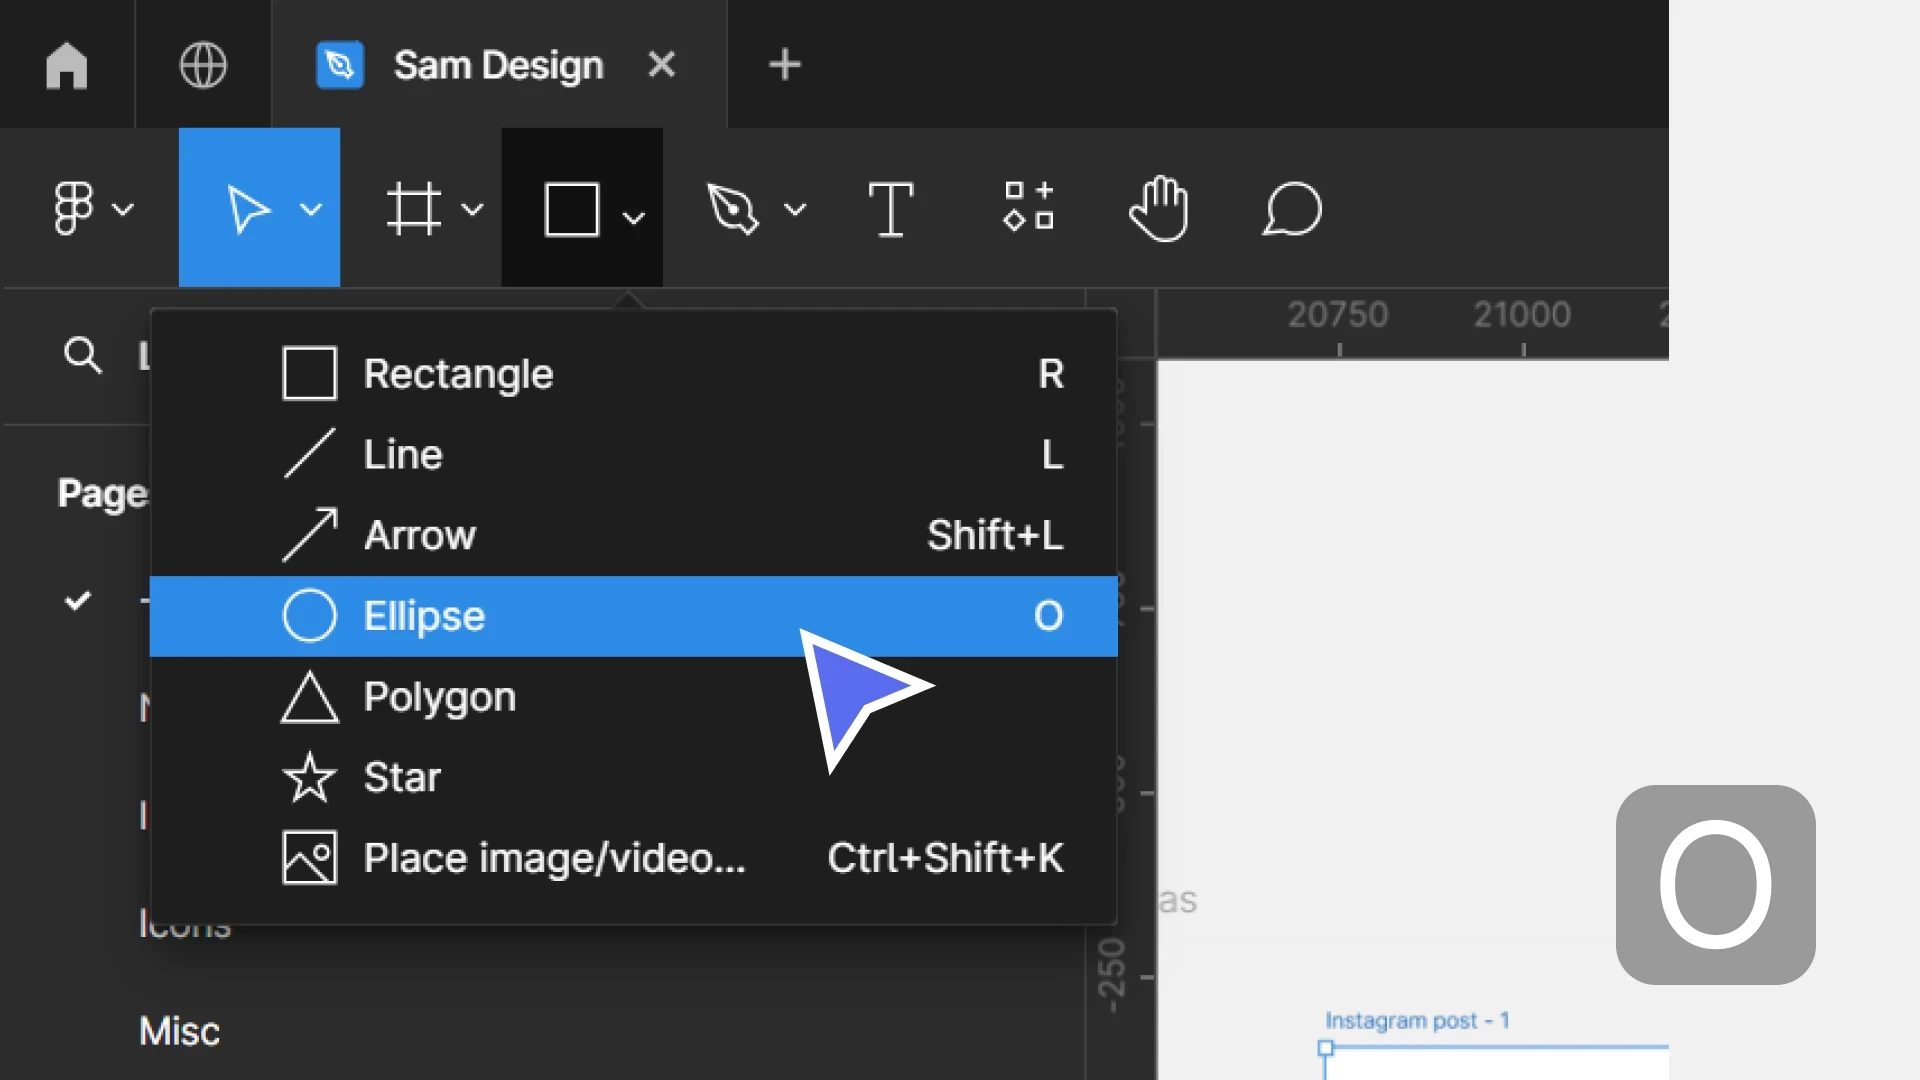
First, use the "O" key or select the ellipsis tool to add two circles to your frame.
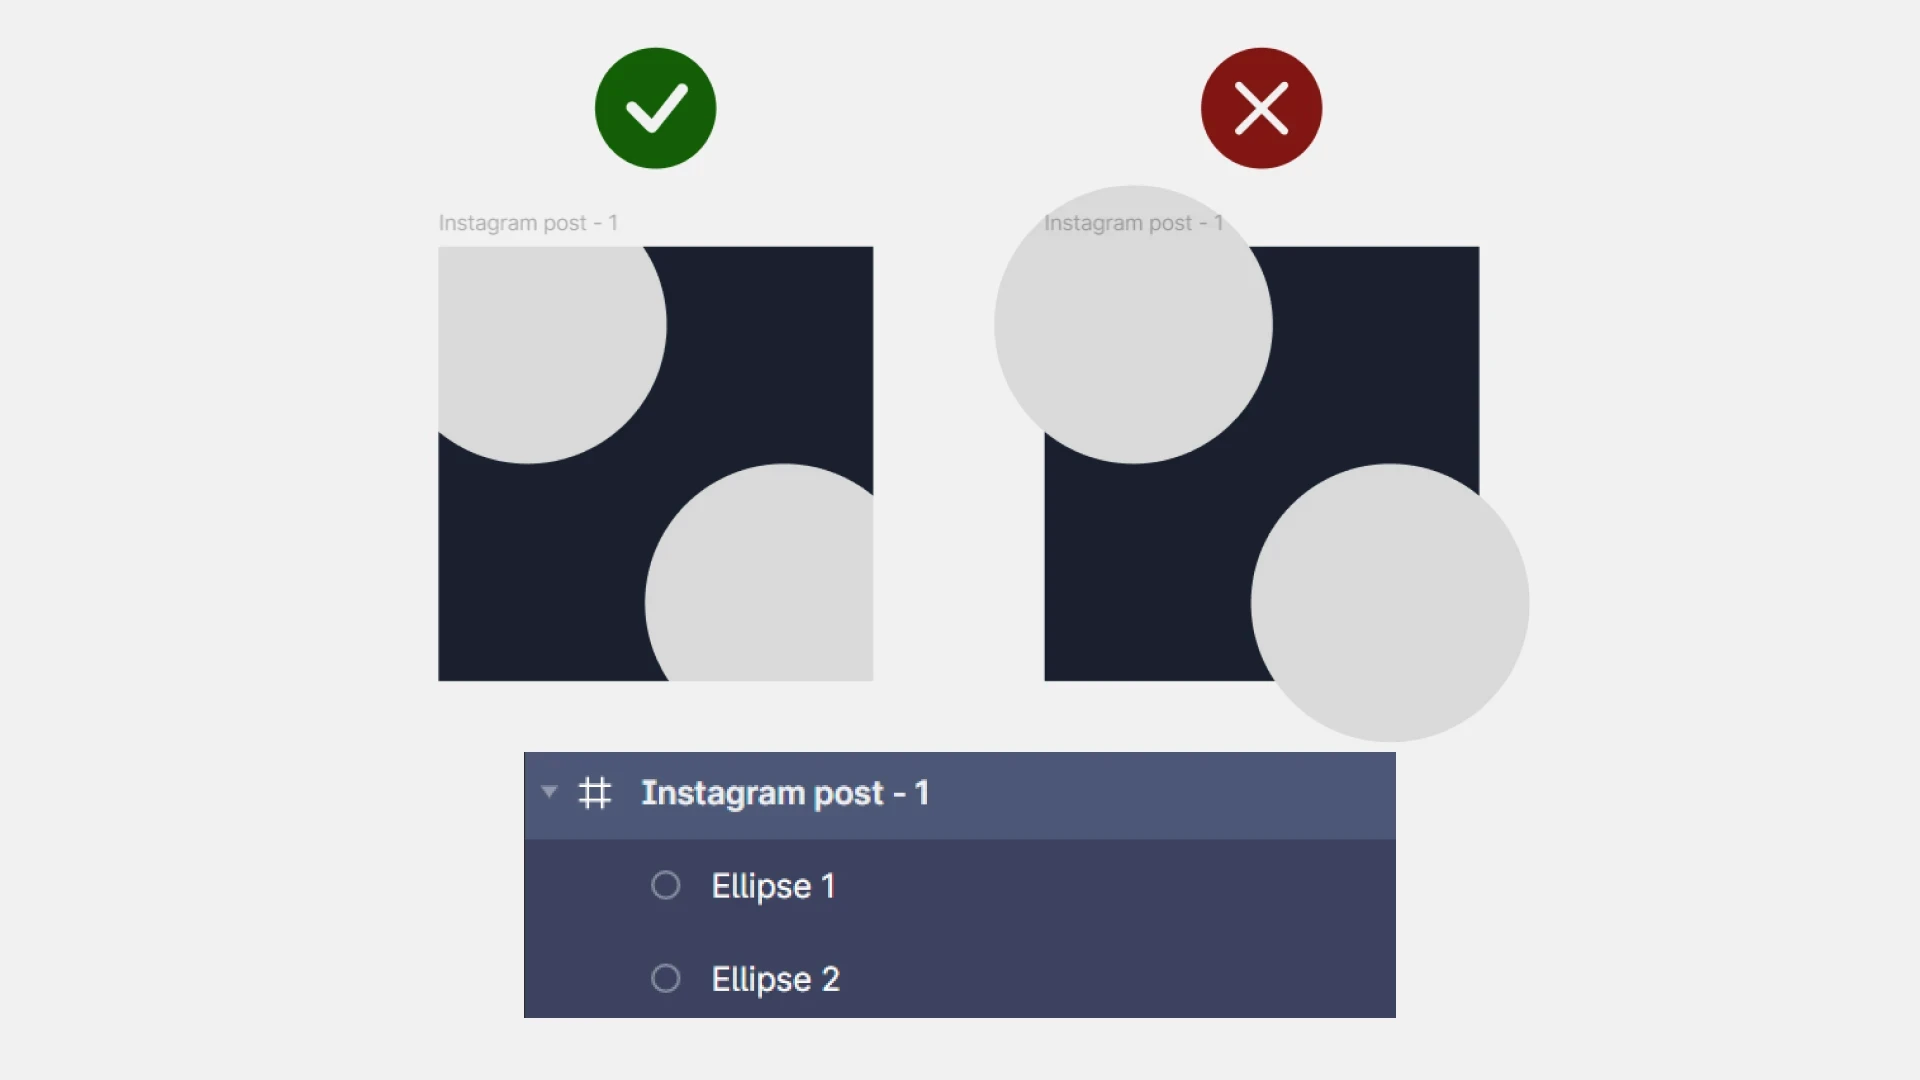
Make sure the two shapes you add are contained within the frame, either by ensuring the circles aren't spilling over the edges of the frame, or by using the layers panel to the left to ensure the circles are children of the frame:
Once the circles are in place, let's add some colour:
Step 3: Add the "glass" rectangle
Now we have our background, let's create the frosted glass layer.
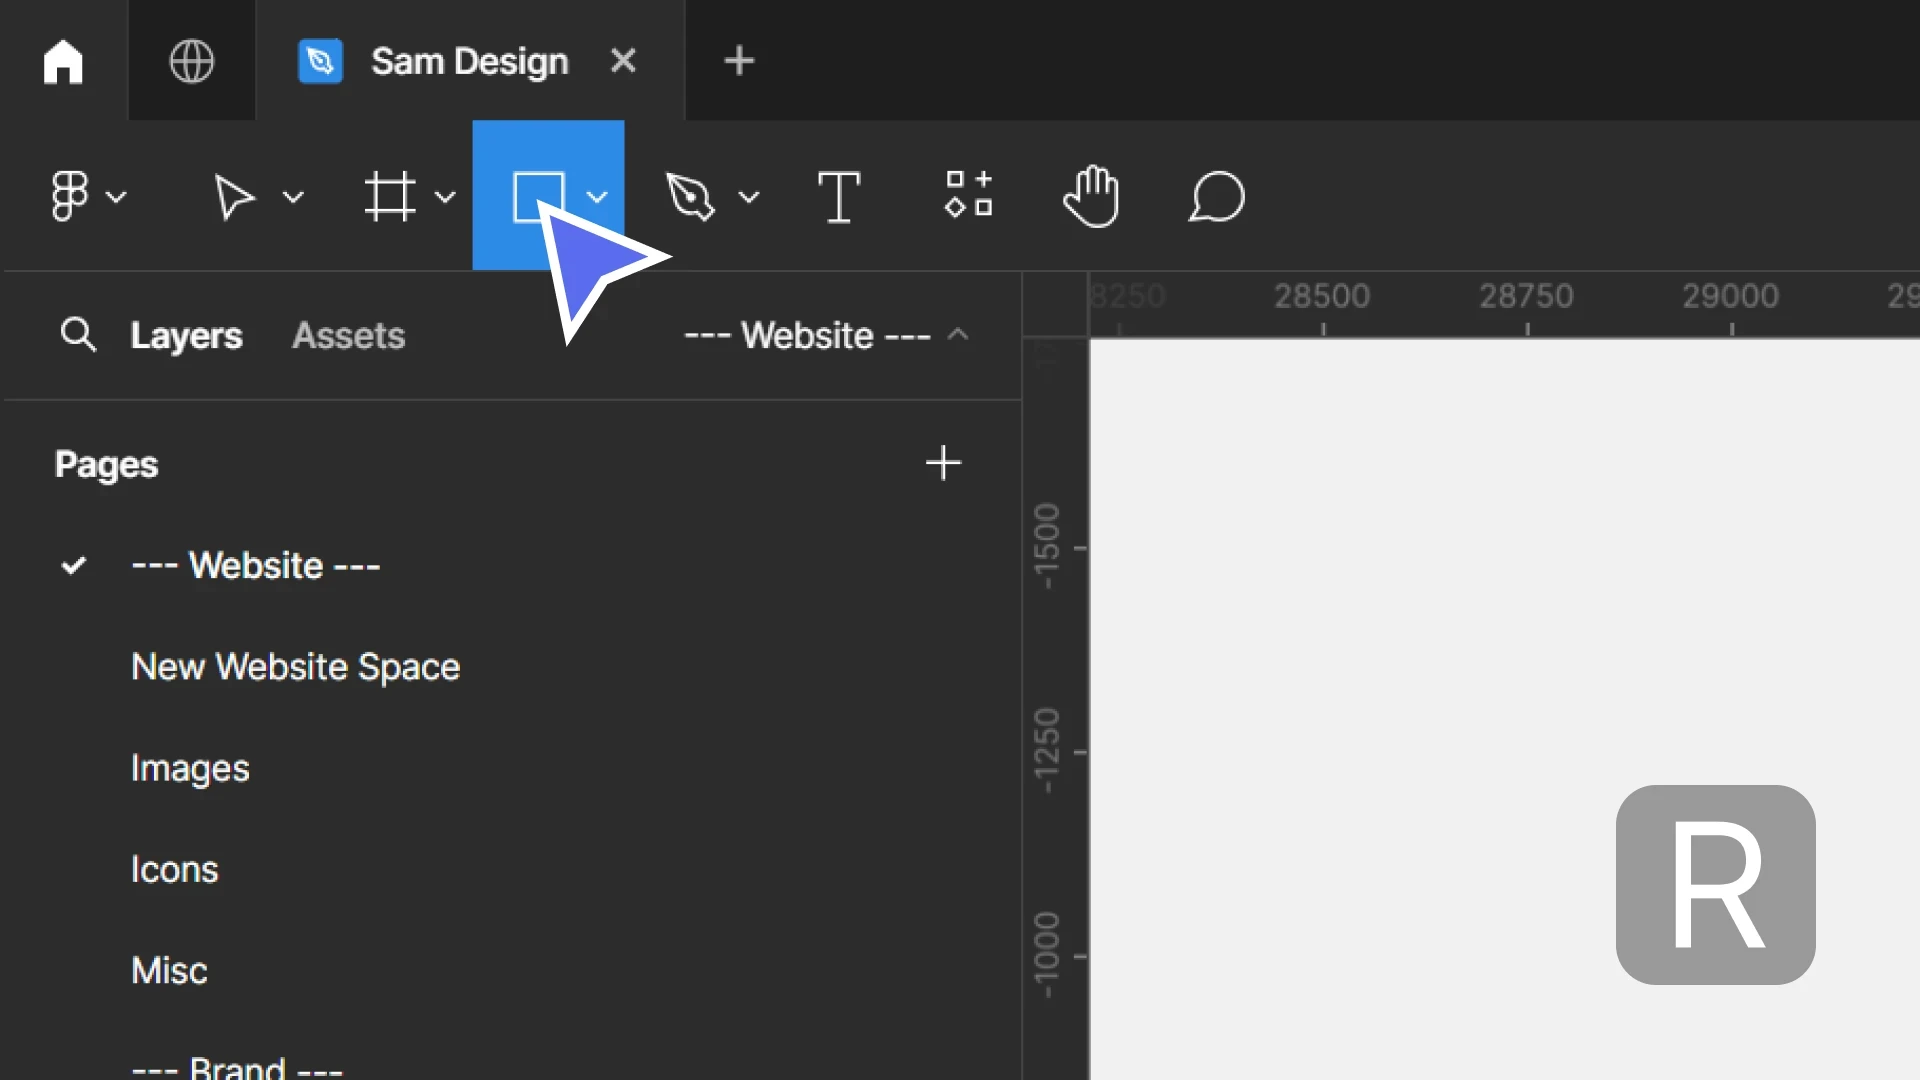
Create a rectangle by pressing "R" or using the toolbar:
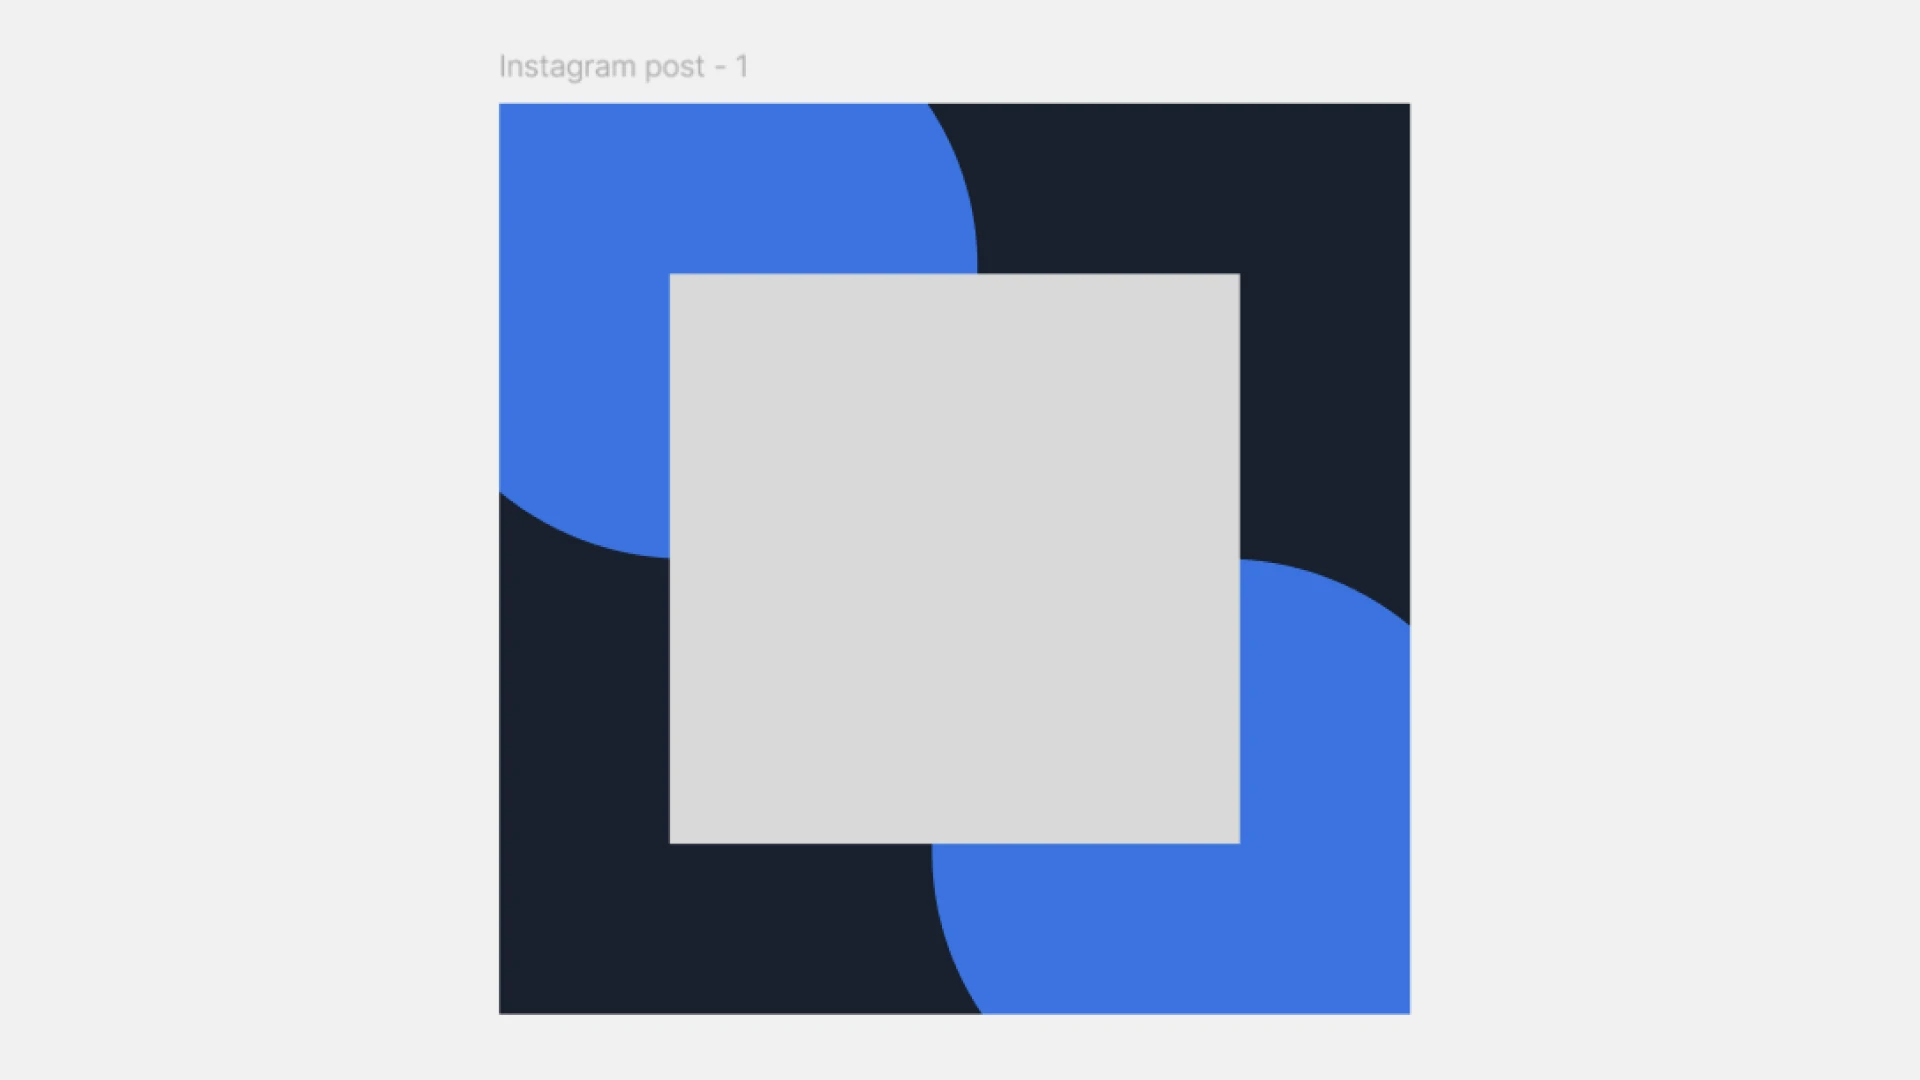
Size and lay out the rectangle as below, to cover and overlap the two circles:
Next, let's style our "glass" layer.
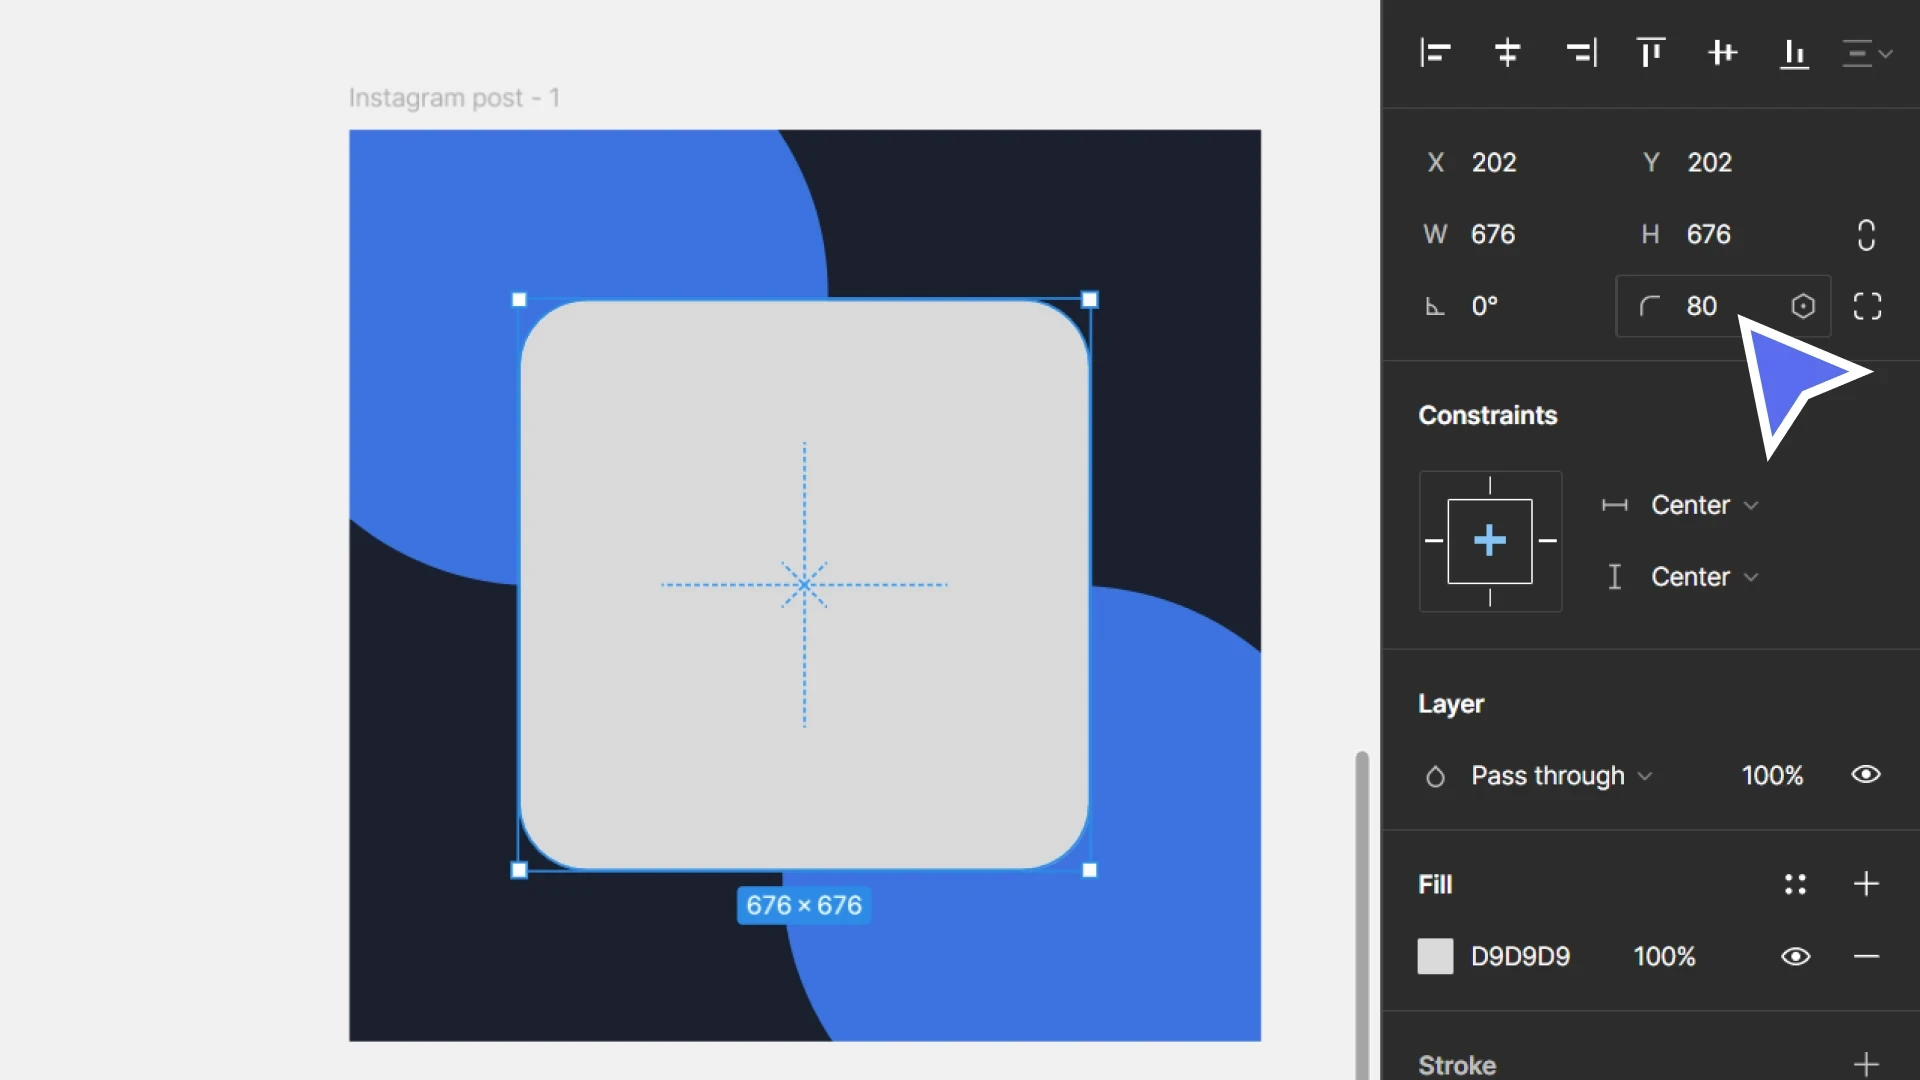
Using the design panel (to the right) let's round the corners of the rectangle we just added to 60px:
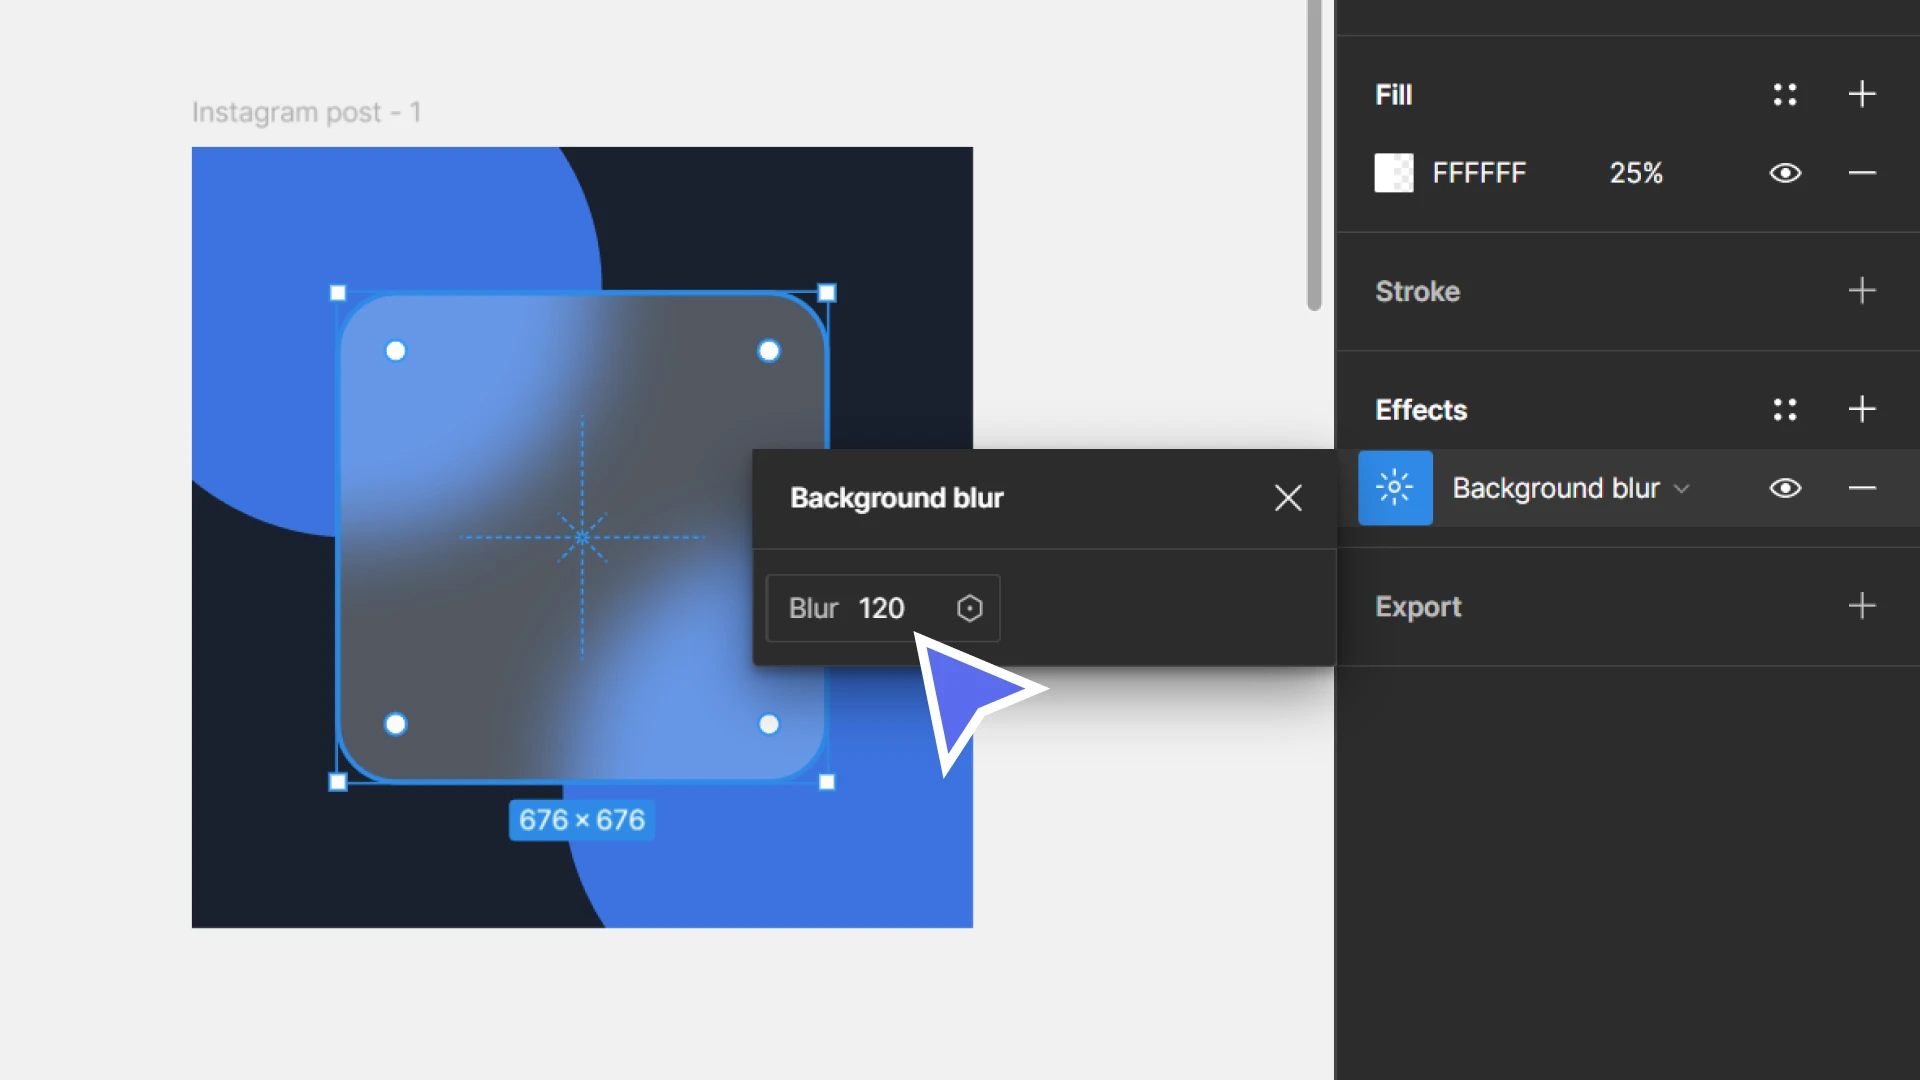
Let's also set the background colour to something (mostly) transparent:
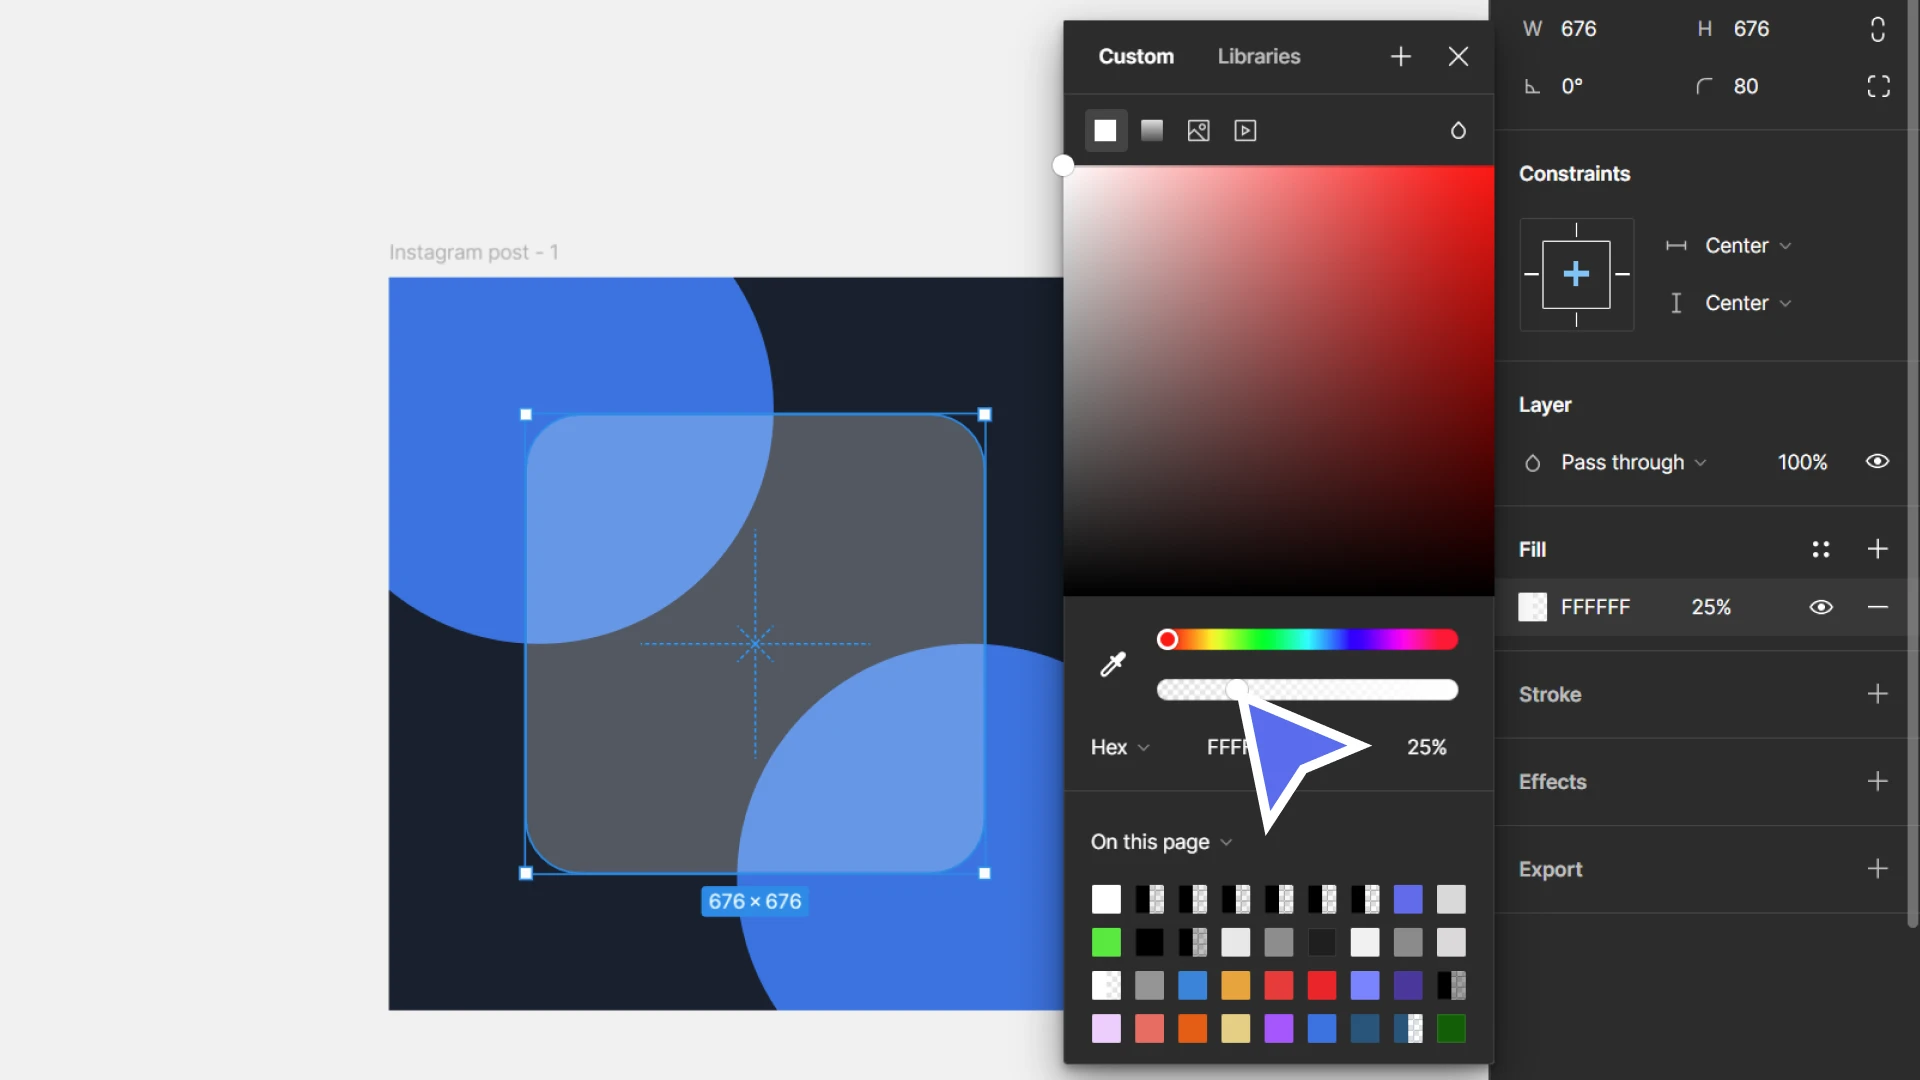
For this design, I've gone with white (#FFFFFF) at 25% opacity.
Step 4: Create the background blur
Finally, let's blur the background!
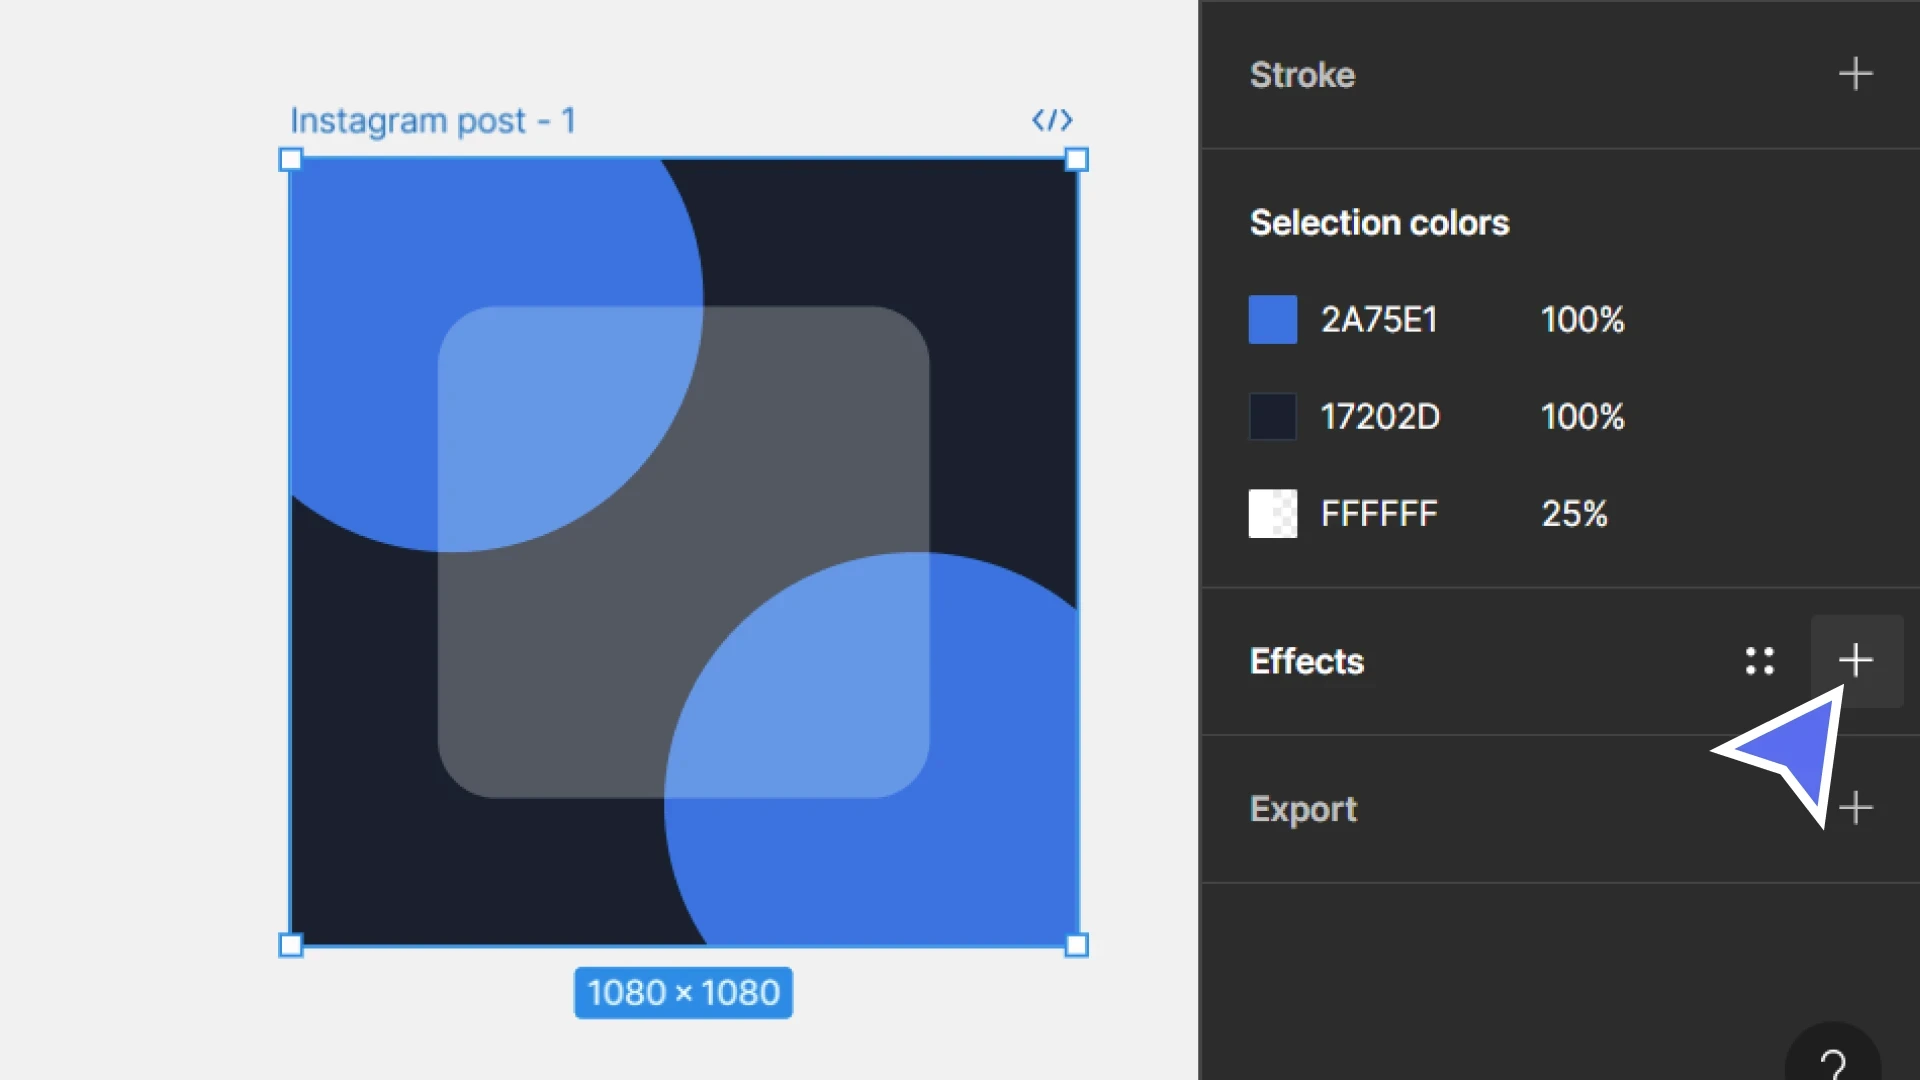
Come down to the "effects" section of the design panel and click the "+" icon:
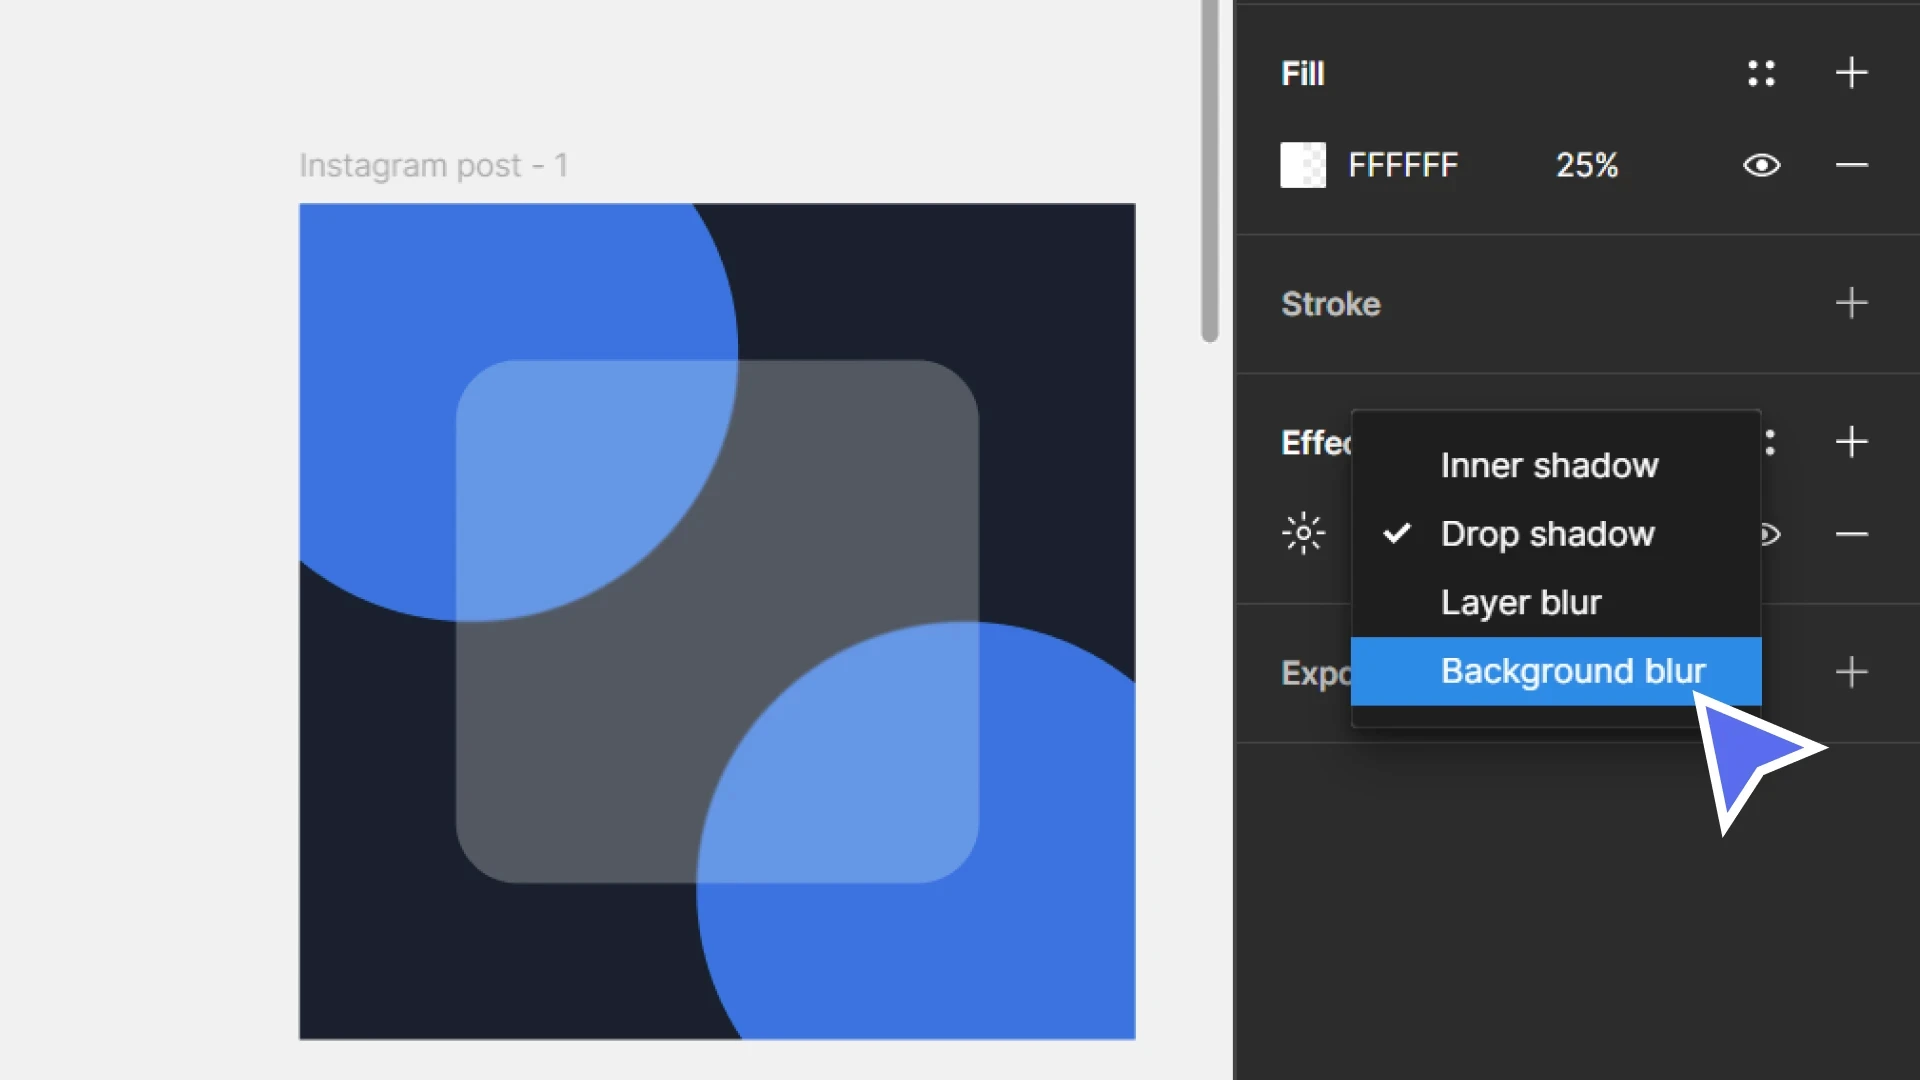
Then set the effect type to "background blur" by clicking the dropdown, which should currently be set to "drop shadow:"
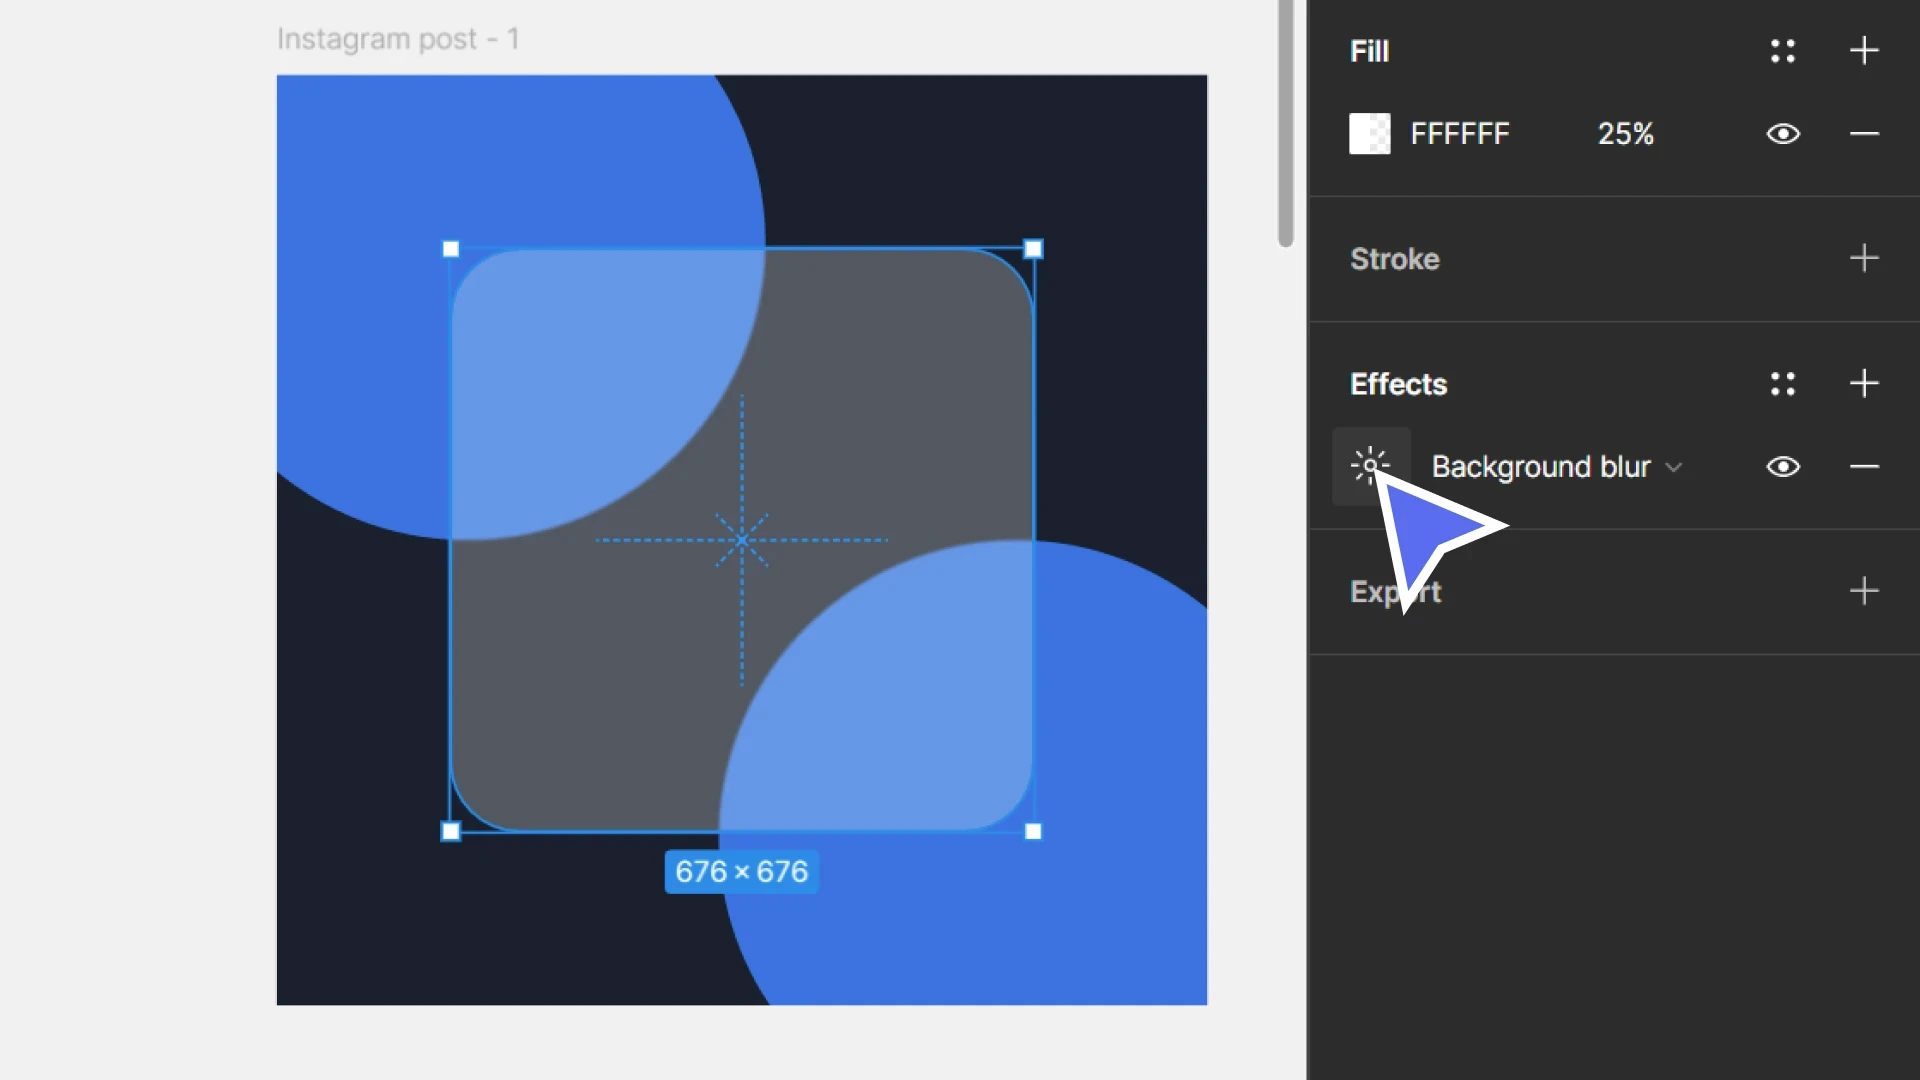
Next select the icon to the left of the dropdown to adjust the effect settings:
Let's set the blur amount to 120px to increase the amount objects in the background are blurred:
Optional Additional Effects:

If you want to take the design a step further, add some noisy grain to the rectangle using the "noise" plugin and add a subtle transparent white border (as above).


